Categories
Mograph Notes Motion Graphics Project Notes

Hess “Toy” Truck Instagram Series Notes

front

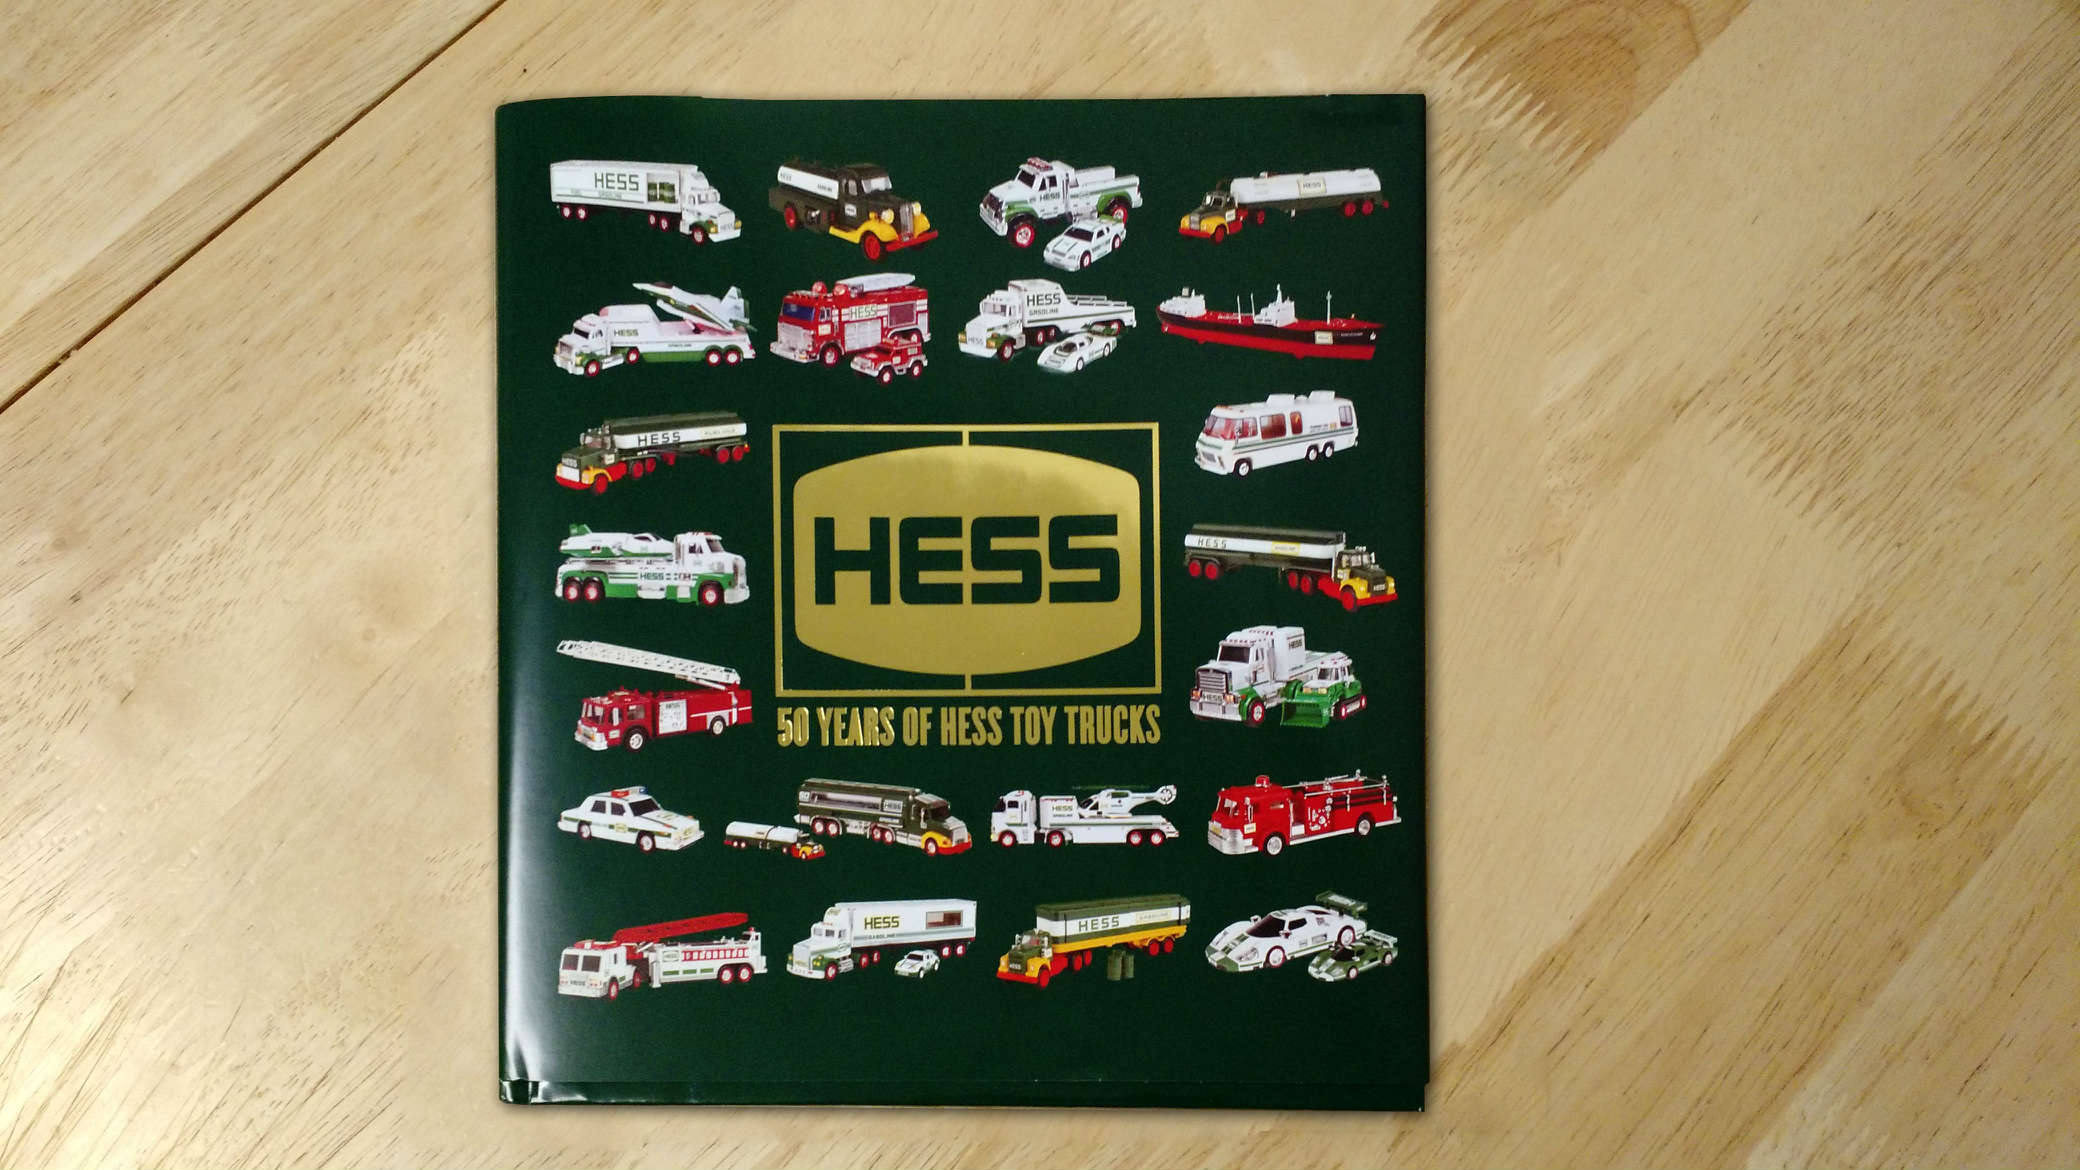
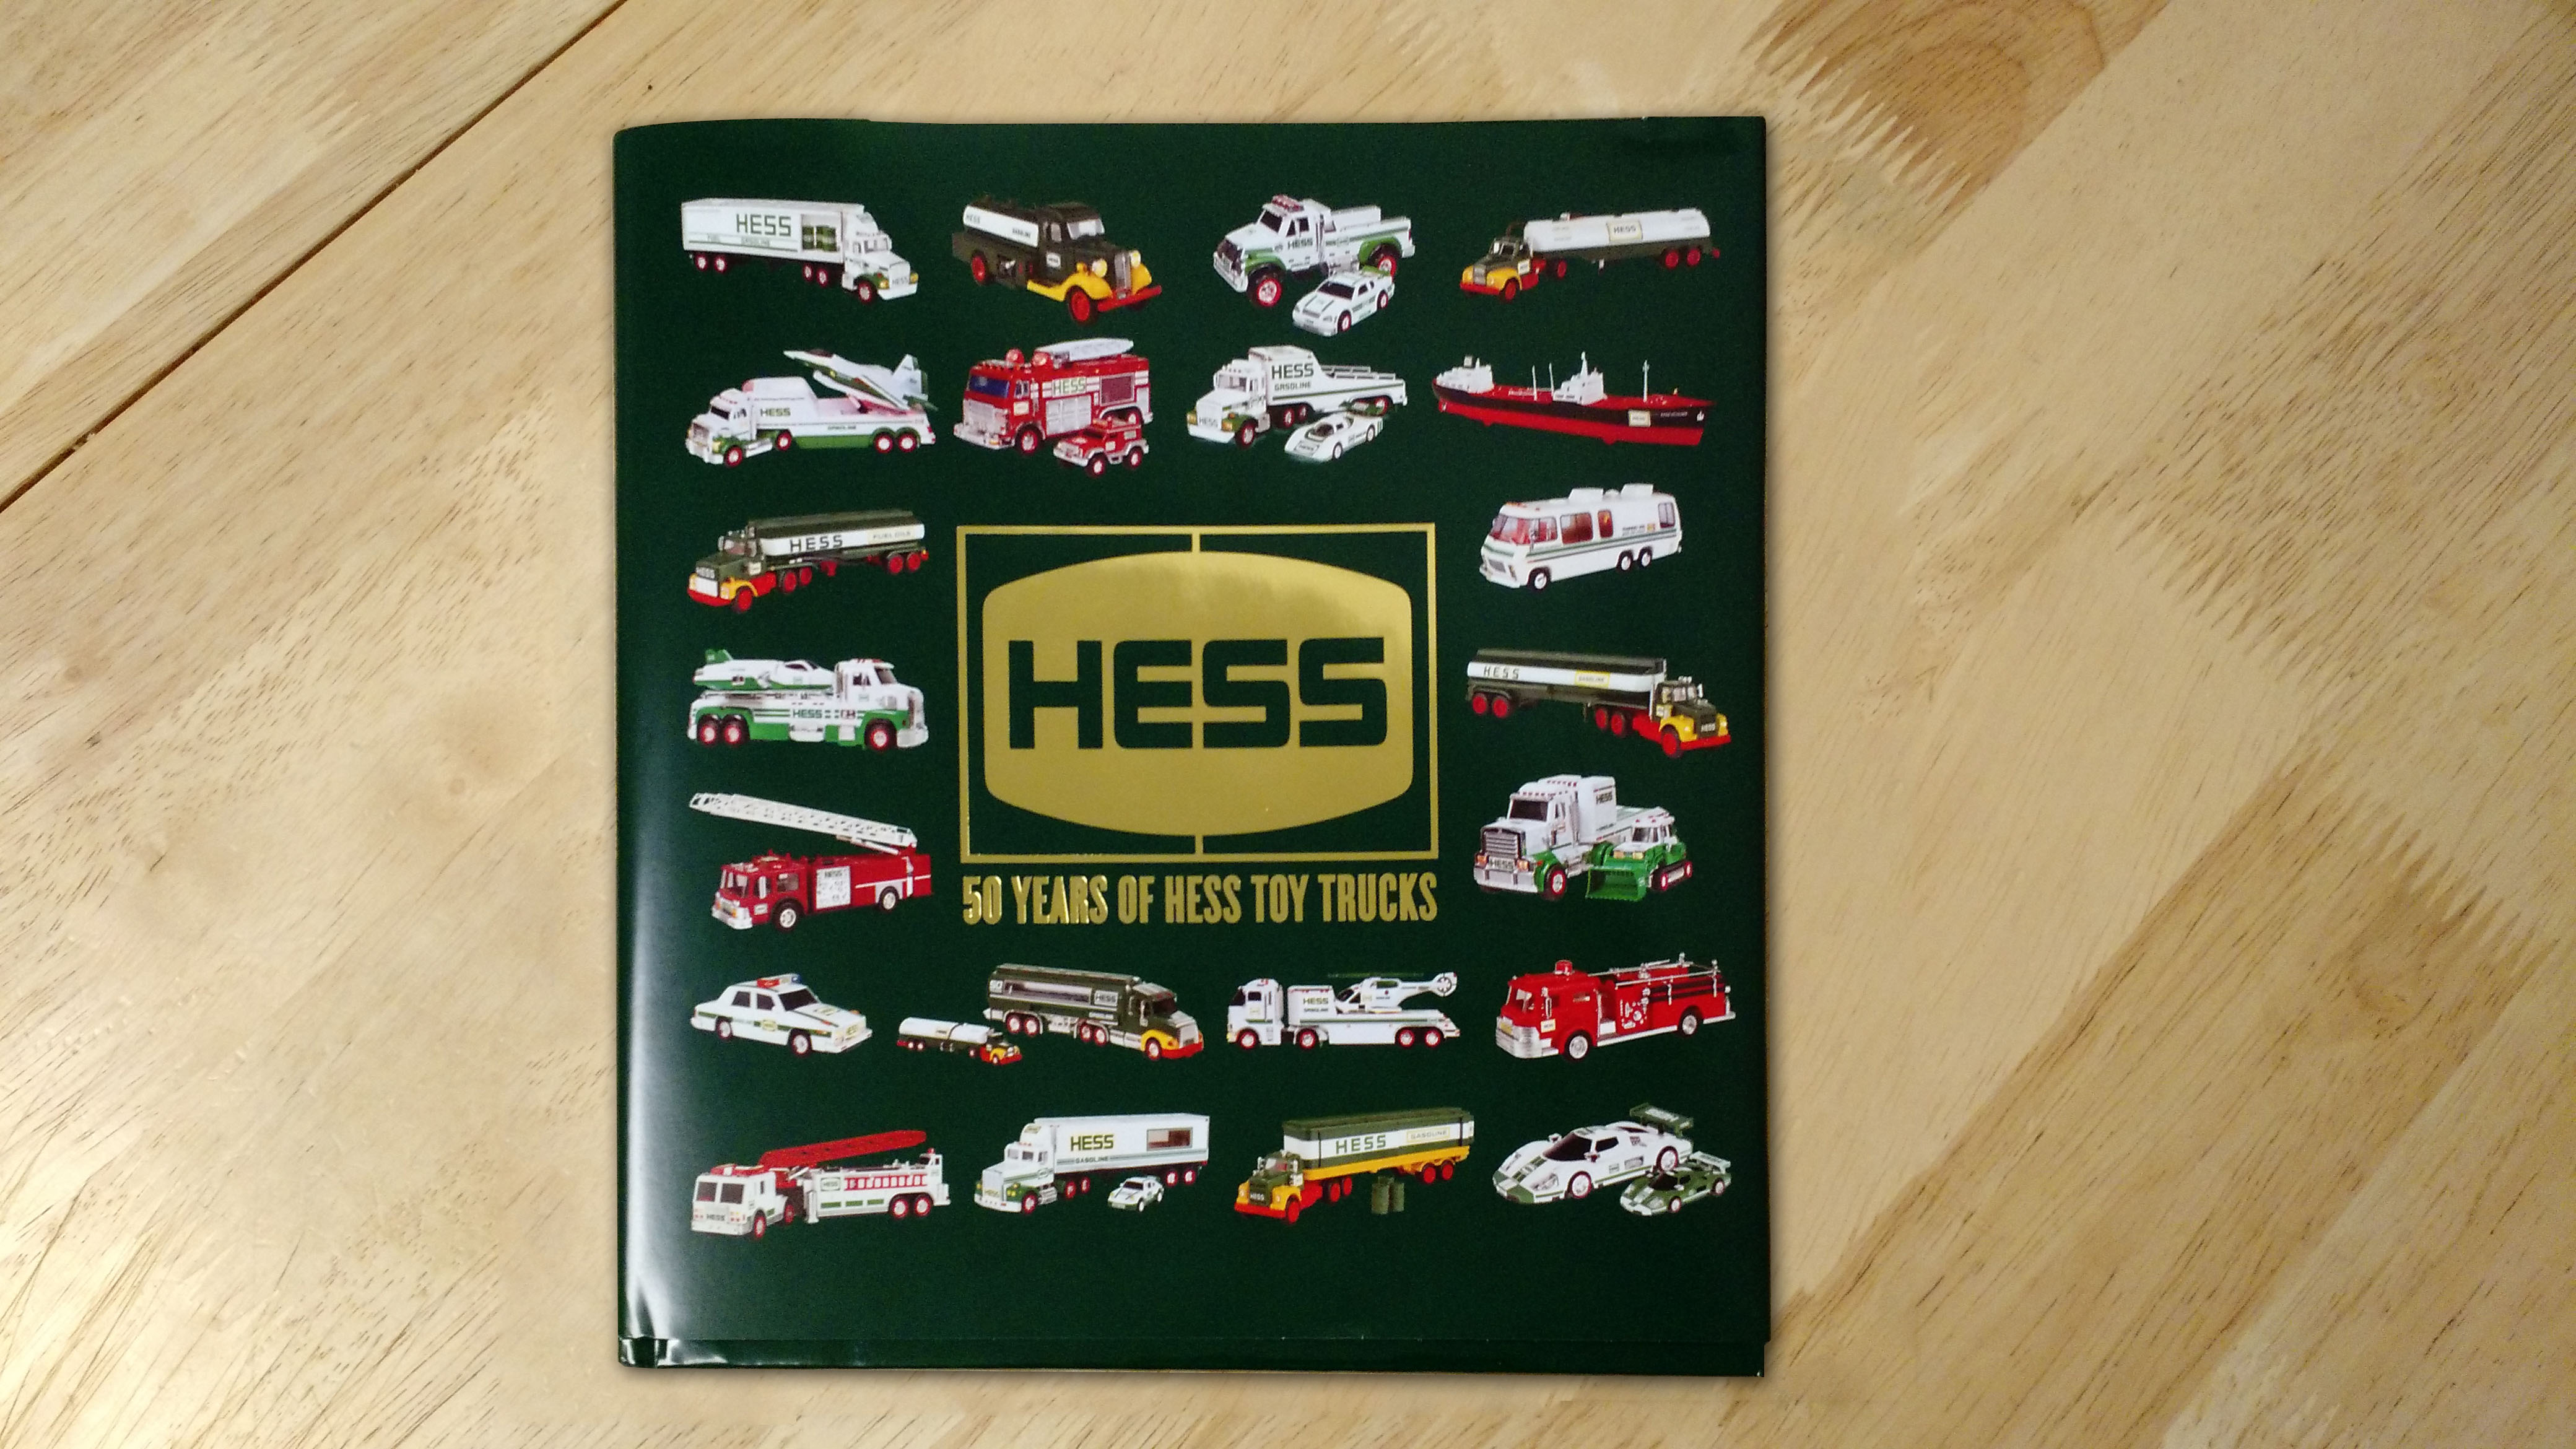
I got the idea to start another personal project around the end of November, revolving around my Hess Trucks that I’ve been given over the years. Part of the idea came from my Dad who mentioned that he should put them all together to take a picture of all of them . I decided to take it a step further and do a series of individual pictures/videos that would end when I get the newest one for this year.

I have received them from my grandfather since 1990 when I was around two years old. Then my mother would get them when my grandfather couldn’t get them anymore. So I have almost everyone since then except 2008 where we(Mom) waited to long and we didn’t get it. Somehow I was able to get the small front loader truck that came with the Hess truck for that year, though I don’t remember how I acquired it.

Pre-planning

To start this project up I first developed a template that I would use to display each truck on my Instagram, which I had recently joined after the recommendation of my co-workers. I looked around to see if anyone had done something similar or used any video production tools with Instagram. There wasn’t much out there but I did find a good video on doing Instagram videos with After Effects where I learned the video size limit and some exporting specs. The exporting specs didn’t work perfectly for my version(s) of After Effects. I wasn’t getting any sound in the beginning, but rendering with Media Encoder I was able to find an easy way to get my videos in a usable format.

After some research I completed my design in Photoshop after one revision and some feedback from some friends. I then brought it in to After Effects to set up the animations and use some quick temp images of my Truck to test the layout and animation. I also did some test renders to see how my videos would work in Instagram sharing the videos privately to make sure it would actually work.

While working on the design and animation I was also developing my set that I would be using to take these pictures. My original idea was to make my set as simple as possible so that I could quickly take make photos without having to adjust much. The location was my basement where I could set it up easily leave it up with out it interfering with anything. The stage was just a few crates stacked on top of each other with a green table-cloth draped over it to make it seem nice.

set Photo_50p

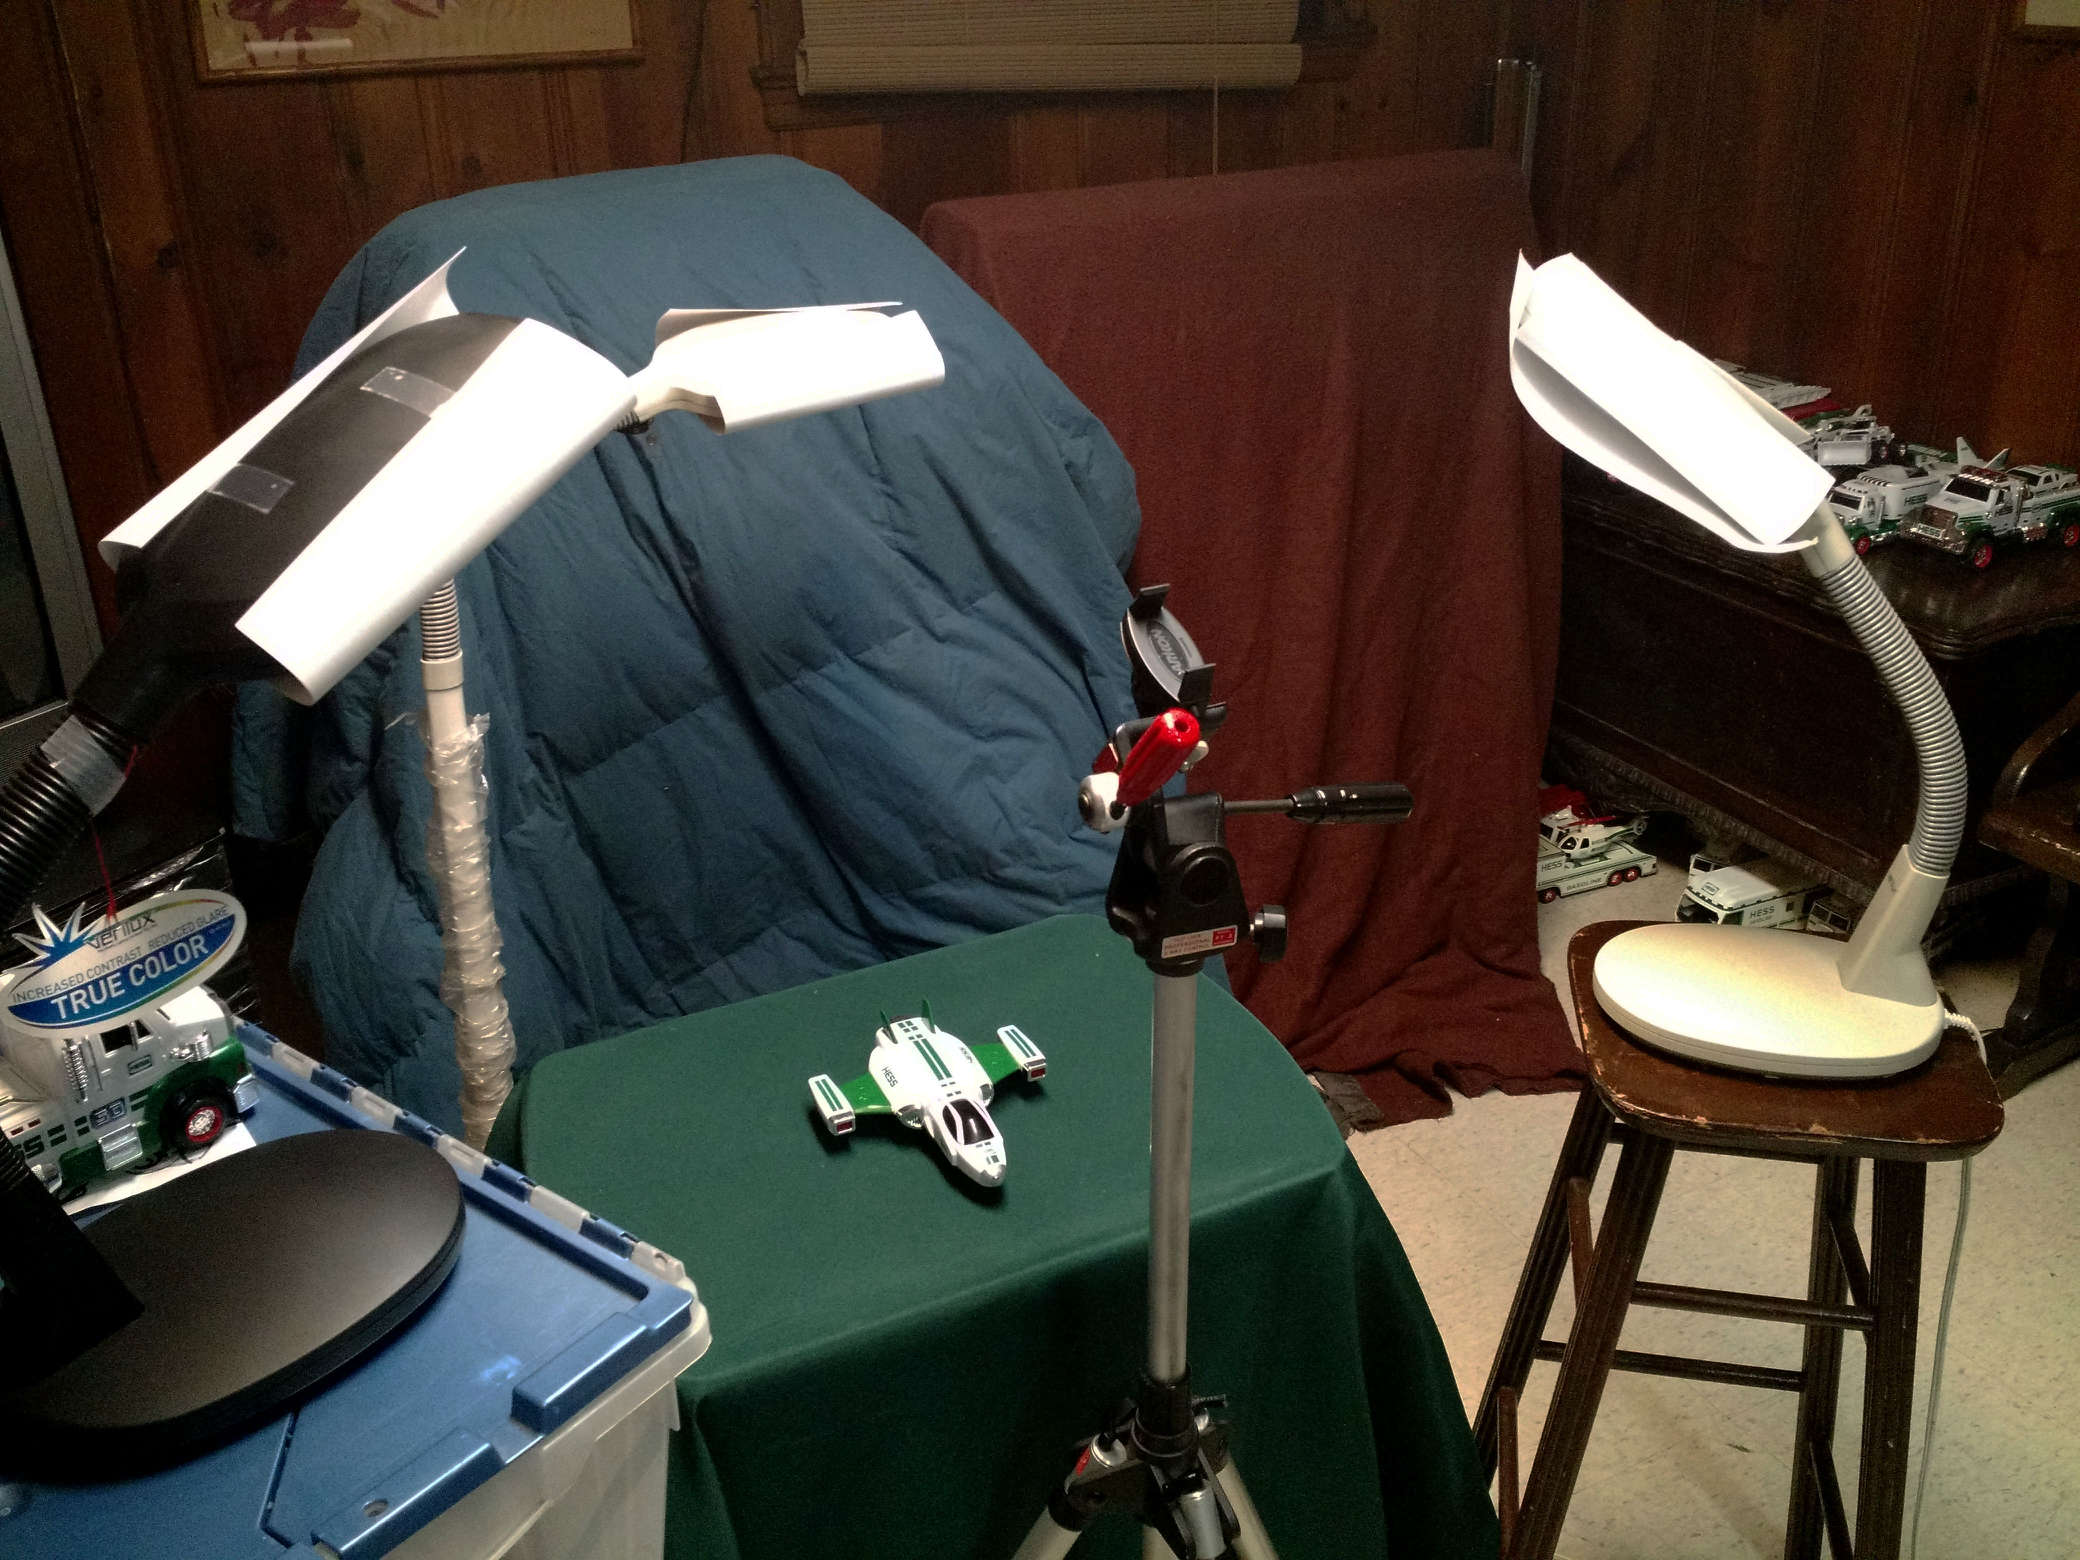
The lighting was originally going to be just the ceiling light, which are the long fluorescent bulbs, that I was going to cover to diffuse the light. This did not work at all, too bright even with reams of paper covering diffusion and too noisy when doing video, just really bad overall. A co-worker suggested getting some cheap LED lights which sounded good though I thought maybe that might be a bit much for this simple(seemingly) personal project

What I wound up using where four Verilux lights that I had/commandeered to use. They boast being “original natural spectrum® floor lamp”, and the natural lighting did worked well for me. Along with some extra paper covering they worked out well for still photographs and where passable for the type of video I was going for. They do have a two way switch on them to control the light level but the difference was barely perceptible to the eye…

The last part I needed for the project was camera and tripod. Unfortunately I no longer had possession of my pretty good Canon point and shoot(yeah I know…) camera but I did have a new Moto X 2nd Gen. Cell phone. So along with my current tripod and a smartphone tripod holder I ordered from Amazon I was set to take my pictures.

Photo Production

The actual production process for making these Instagram videos evolved over time and varies a bit depending on which truck I was photographing but the basic outlined stayed the same. I set the truck up on my stage and would take pictures from various angles around the whole truck. I would usually start from a high angle to make sure I could get all of the truck on the stage. Then I would turn it around taking pictures and then do the same at a lower angle to get closer to the truck. The low angle worked well for getting the license plate years and the smaller trucks, motorcycles, buggies and other smaller vehicles that came inside the bigger trucks. I would repeat the same process for taking pictures with the lights off for the Trucks that worked well in the dark.


While taking these photos I learned a few things about light, composition, and mechanics of phone camera as well. There was never a perfect light setup(not too surprising) even when just rotating the same Truck around to take a picture from a different sides. I always had to move at least one light to compensate for something. My goal was to have the shadows as minimal as possible but somewhere along the way I let that goal go to just try to get good reflections and as even lighting as possible. This was not always achieved and even with the exposure control on my camera some Trucks where still blown out. This was really hard with video since the my camera phone requires a lot of light to get the truck in focus, so almost all the video footage was over exposed. Fixing it in post helped a bit but I could only do so much.

IMG_20141213_224242473_50p

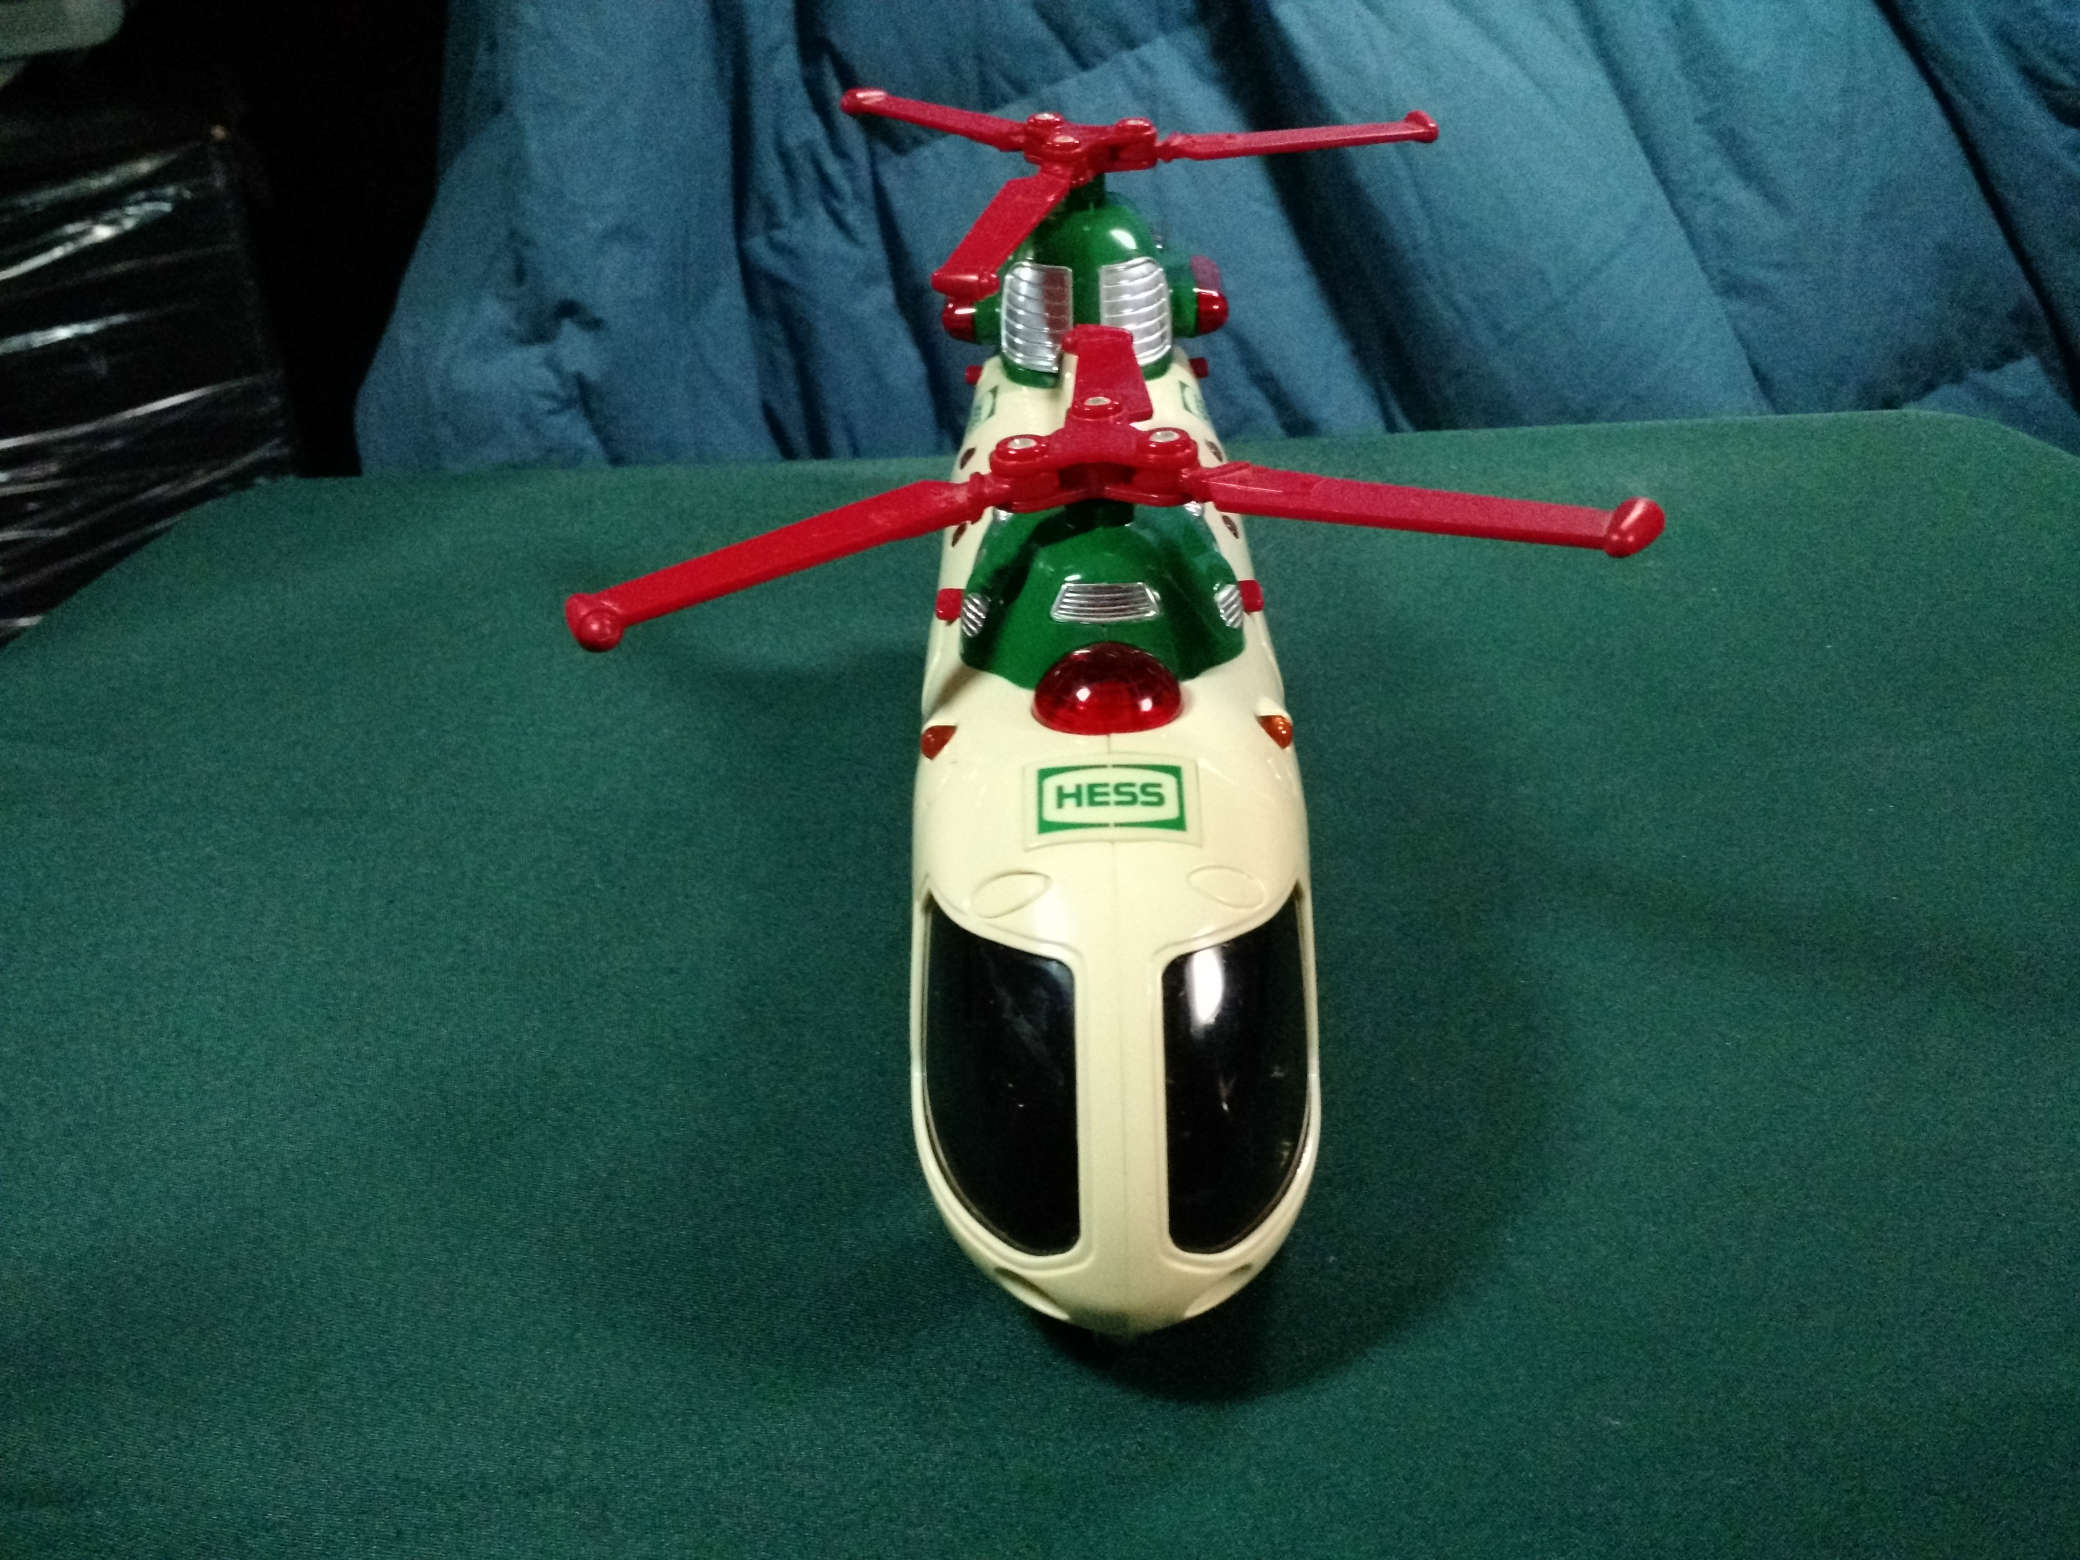
Composing the pictures was for the most part straight forward, once I had done a few trucks. However not all of them where the same shape and many where not trucks at all. I have said “trucks” this whole time since that is how they are marketed but many  of the ones I have are over sized helicopters, cars, or have a space vehicle on their trailer. The Helicopters where particularly hard since I wanted to get the blades all in frame and stay completely on my stage. This was where I wished I had a bigger set for some extra wiggle room for framing that would have been helpful for the larger trucks as well. I was able to work around it with mainly just using photos that were zoomed in or some post work to extend the stage.

Instagram Video Production

Producing the video was pretty simple but it took time to go through all the photos I took. I had around 150-200 pictures for each truck that I had to go through. I started out going through the photos I wanted to use ahead of time and separating them out before I hand. However by the time I got to the late 2000’s I was doing some of the videos the day I shared them, so I would find the picture I wanted to use from my main folder separate them and import them for use all in one go. But by then I knew what pictures I was probably going to use for each slide section anyway.

Each still picture frame went through four different pictures, so eight in total. The ending two usually being the year license plate and some times with the in the dark photo. The top large frame was designed for videos or still pictures depending on the truck, ideally I wanted to make a video featuring the major electronic feature of that truck. So all of them have lights(not all working), many have sounds, and some have motorized parts. I edited together the various sounds that each made to have them go off during the video. I was able to feature all the sounds of each truck until the latest years where they had too many sounds to fit together in a coherent way.

A video posted by Greg (@greg2bpro) on

Some of the sounds also worked in tandem with how you would move some of the trucks, car or shuttle/plane. One racer car even had its own sound, so I was able to have it run across the stage and use its sound effects. I did this also with jets/shuttle although they didn’t actually fly across the set so I had to animate them in After Effects and add their sound effects. I think the newest one, 2014, worked out well since I was able to composite the cruiser taking off the launch pad and have the scout ship follow it.

Sharing and Recap

Getting it out there was just a simple as transferring the final video for each truck on my phone and telling Instagram to upload the video. I wrote out little blurbs about each one to accompany the video ahead of time, then shared it to via Instagram to my Facebook, Twitter, and Tumblr. I had planned a schedule so I knew which year to post on what day so that I didn’t have to post more then two a day.

During the posting process one thing I think I did too much of was hash tags. I had them already setup in a text document and just threw them on at the end. I think it would have been better to integrate them more into my description of each truck and not have as many.

In the end it was a fun and self-educating project to put together. It was also a lot more work then I was expecting but still rewarding. Not sure if I will do it again next year but if I do I will definitely start earlier.

front_50p

Categories
Mograph Notes Motion Graphics Project Notes

Brown Jordan Notes

I’m always looking for more opportunities and different projects to work on. So when I was contacted by SME branding to asking if I would like to be a part of a project they where going to being I jumped at the opportunity. The Project began in mid august with a hard deadline in the middle of September.

My involvement other then discussions on the project as a whole was involved with the animation following the direction given from the storyboards done by the awesome designers. I worked over a week with the SME designers to create the vision they had for this animation. I used primarily After Effects CC with some C4D via cineware. Though cineware is still not as work flow steady as I would like it to be, so I did have to render out a few things in the end.

In addition to the animation I was responsible for the final audio mix of the project. They wanted to give the project a real environmental feel to it. Their team discussed the sounds that they wanted and I went about doing the final mix with their direction and feedback. SME had a composer create and original track for the piece that would express the feelings they where going for. I used Audition CC to do the final mix which worked well in my final workflow.

Brown Jordan Sitev2

Overall I had a great experience working on this project, with the team over at SME and I’m glad it turned out well for Brown Jordan. You can even check it out on their website.


Categories
Mograph Notes Motion Graphics

Mother of Faces Notes

Mother-of-Faces_parts_502x801Avatar the Last Airbender is on of my favorite animated shows, and although the series has been done for a number of years now, they have been producing comics about what happened after the series was over. I have personally been really enjoying these giving us fans a look at what happened to our favorite character as they get older and what helps shapes the world that we see in Legend of Korra.

In the latest comic The Search Part Two we are following most of the gAng with Zuko on his quest to find his mother and at the End of the Book we find a meet a new Spirit the Mother of Faces which I really like the design of.

Mother Of Faces

I wanted to do a simple cut out animation of the character and make a simple gif animation that I could quickly post online. It turned out not quick to do since I expanded my original idea of the project. I was simply going to break it up and place the parts in 3D space in C4d then bring them in to After Effects using the new Cineware plugin and animating them in AE. Creating an animation in only 2D space. But I wanted more control over the Spirit and cineware to work to slow for an efficient workflow.

I ended up doing a full rig for the Spirit in C4D and a more involved camera move that required me to recreate the whole background. I also added some music from audio jungle to add some atmosphere to the animation. I also learned the limits of gif sizes on various sites due my full gif being to large for most site to be posted on so I edited it and made a shorter gif in addition to the long one. Check them out and tell me what you think.

Categories
3D Animation Mograph Notes Motion Graphics Project Notes

Monsters Vs. Animals Project Notes

I have had my eye on these set of character models over on 3Docean for a while now. So in my list project ideas I had the idea to create a simple story around these characters. Something similar to what would be on a mobile phone game cut scene, “think angry birds cut scene”. It would be playful and light hearted and convey some simple premise. I came up with a little battle versus idea between the two types of characters. I made a quick written outline/story board, then I started a quick 3D animatic of the story.

I soon realized (after procrastinating to do it) that this was going to take more time then I wanted it to so I amended my idea to do a quick smart phone video game intro animation. As an animator I all ways like these sort of scenes before the game I play even if there only 5 seconds or so long. So with my new idea I went into production of designing my game’s logo.

MvA_03

I first sketched a hand full of ideas before trying to create them illustrator creating various version of the my favorite ideas. After I was able to pick out which one I like the most I posted it on hunie.co, the newly revamped design critique site for some feed back. After receiving some good response and ideas, three versions later I had a design that I liked enough to bring it into C4D.

c4d logo build

Building it when straight forward as building any standard 3D logo. I keep the subdivisions low on the text shape to fit in with the low-poly style I was going for. After building it and texture it I started buying the models I would need and animating them in my scene. I had a rough idea of the overall animation sequence written down so I as I got each model I started animating it to the end of the sequence before getting the next one. Some of the models came with animation on them but for most of them except one I re-did the animation since most of their movements are just a repeated loops of a simple action. After animating them I did a quick lighting setup using Maxwell render to give it a sunlight feel with a strong shadow overhead.

Audtion Screen

My last step was to do some composting in after effects and some sounds effects. Originally was going to find a music track for the background, but thinking back on some of the games I play not many of them have music for this part. Usually the music doesn’t hit till the main interface so I went the route of using only sound effects which I got from freesound.org. In the end I like this better especially since I had fun mixing the stereo sound the various creatures and vehicles. I really want to try a 5.1 mix just to see how it works and hear sound all around me.


Categories
3D Animation Mograph Notes Motion Graphics Project Notes

Hal(Green Lantern) Projection Animation Notes

For the past couple of months I’ve gotten into a new webcomic called JL8 which features various members of the justice league as little kids in school. The go to school like normal kids except that they have super powers and the comic explores this in many ways often with a side of humor.

 The creator of the comic Yale Stewart posted a some desktop wallpaper images on his deviantArt page and I got the ideas to try and do some camera projection using those images. I chose to use C4D because it has projection man which makes this very easy to setup. 


 After brain storming what kind of camera move I wanted to do I found a character model that was similar to Hal in the picture and started adding parts that would match the image and give it some slight depth. Using projection man to manage the images allowed me to easily jump back and forth between C4D and Photoshop and extract various parts. Above is a hardware video where you can see the geometry I used.

 My final goal was to create a simple 5 second camera move animation that featured Hal focusing on sky and his glowing ring.

 Check out the comic JL8


Categories
3D Animation Mograph Notes Motion Graphics

CV-Artsmart Logo Plugin


Cineversity just releasde this new plugin called CV-Artsmart. It’s a great plugin that takes you illustrator vector artwork directly into c4d with out breaking the connection. So no more re-building your paths doing, extrudes one by one or any other prep work. It will even take in your colors from Illustrator and make materials for you. Which you seem to have to if you turn on mograph.

Oh yea mograph is easily used with one click to effect either the whole logo or each layer. It makes quick work of making simple extruded 3d logos. Keep in mind how you group elements your layers in AI since it seems effectors will effect them as group or individual based on it.

This is a great plugin and I wish there was something like this for when I have to use other 3D packages… I see this a great tool to get your logo built quickly( this logo took me 5-10 mins maybe less to setup ) with textures. For more complex stuff you will have to break it eventually but it does keep a clean hierarchy.  My only issues is I wish you could used editable AI text (you still have to outline it) and,  I wish I could control each layer with position,scale, rotation in addition to effectors.


You can get the plugin from cineversity.com


Categories
Mograph Notes

Robotic Notes

On envato they had there free items of the month release from their various sites and as an asset junkie I was compled to download all of the free items that I even thought I might need. One of these was a robitic creation kit from graphic river by
RZDESIGN.


  As a fan of robots and character designs I was drawn to the simple yet complex in customizeable optionsfrom these character parts. I decided as a simple exercise and quick project ( or so I thought) I would build a few of these characters.I picked one from his original dark set and light set. 

The white bot I built first which was fairly straight forward since it mainly consisted of rounded long cubes. The only “real” modeling was the done on the head since I had cut into the head to make sure the mouth and eyes where all one part of the head. I did a bit of redesign with the arms so that they could move without just seeming like there coming out of the sides of the body magically. 

The green bot was a bit harder to make which at fist seem like it would be pretty simple. The main issue I encountered was how to build the head/main body. A pentagon is a simple object to make in any 3D program and there usually is a one or two click solution. My issue was with cuts into the front face to make the eye and mouth with out there being a bunch of triangles and would allow it to smooth correctly.

There is seemingly no way to lay a grid out on a front face of a 5 sided object without some triangles though I did my best to hide or put them in places that won’t matter. I was able to layout some structure that let me cut into the face and allow for the edges to be smooth correctly with a hypernurb. Of course since I wasn’t really planning on doing any deformations in the face I might not of needed to take as much effort laying out the face, but using just booles ( which I’am sometimes guilty of using) would not have cut it. 

 I did a bit of redesign for the lower part where the treads are since in the original design they seem to connect directly to the main body, which in a static 2D design works but in 3D may be a bit of a stretch in how it would actually move. So I created a new base of the tread design of a model of a Hunting Russ Mk. II tank.

The next step I took was lighting the two bots which I started of well and posted some preview images of on my twitter, but as I continued to work on it I got hung up some details and reflection that I couldn’t get to emulate the original design correctly. Eventually I just said the heck with it and pushed through it and created a new save file that said final and after a few incremental saves, I had the final images. I also have a rotating camera up which I may render a full turntable of later.

Categories
3D Animation Mograph Notes Motion Graphics

Bearmageddon Animation Notes

If you don’t know about Bearmageddon you should because its an awesome webcomic by Ethan Nicolle. If the title doesn’t give it away it’s about Bears taking over and ripping people apart. I found out about this comic through Ratfist, which is another awesome webcomic.

I deiced to do this for couple of reason, the first is I really like webcomics or comics in general and the ones that I find are the best visually are really dynamic and have a lot of motion on each page. I’ve had on my list to animate a webcomic for a while now but still have not really done it yet to where I really like it. (I did a commercial spot for I Kill Giants)

When I saw that Ethan was taking a break I though I should do something to show how great the comic. I also saw that other people where posing other cool images about the comic and thought I could make something too.

Originally I was going to animate the last few pages from where the bears start chasing the van, but realized this would take a lot more work then I had the time for. So after some quick brainstorming I came up with the idea to animate the sites banner image which is also in desktop format.

I planned to do a 3D camera project of the image on to some rough geometry to give it a more believable feel then some of my other animations. I still had to cut our the whole image into parts and map them onto geometry and make sure it looked ok. My first tests where good with my original camera moves but I change the move a bit at the end and you can see some repetition where I didn’t think anyone would see.

I did some final composting in After Effects to try and give it a more movie feel. I also added a whole host of sounds effects that I mixed together to try and help enhance the already amazing visuals. I paid a bit more attention to it this time trying to create a good mix of sound with in the piece that didn’t just become mush when you listened to it. Tried to give it a real stereo sounding feel to it so if you listen with only one headphone you wont get the full sound.

I think this is one of my better 2D image to animation pieces but still has bunch of things that could be worked on. This was supposed to be just a weekend project but it wound up taking a few days more but the result is better because of it. So here you go my a 3D camera project animation of the Bearmageddon banner/desktop image.

Categories
Mograph Notes Motion Graphics

Exoteric Mograph Notes

Two weeks ago now I did an every day of the week typography exercise using definitions of words to try and create a type treatment for them. One of my favorites was exoteric and I deiced I would try and do a full 3d or 2d design with it. I choose to do a 3d design and in addition added some simple animation to it.

I planed out the animation using my base type design and just thinking how the type would animate together in a logical way. The random pointy and circle objects that go through the top and out the bottom as pyramids, squares, and spheres I developed because part of the definition of the word is simple. So my idea was to have items transition from complex to simple it also gave me an excuse to play with thinking particles and Xpresso.


A few things I noticed is my timing for the E to pop out could be more spaced out to give it more of an impact entrance. I also could have given more X-ray time to see the objects transition in the middle. Lastly this font Null Free isn’t great for 3d text at angle but still looks cool anyway I think.


Categories
Mograph Notes

Jux Animation Notes


I have been using the newish blogging system called Jux. It a simple platform that lets you publish content a number of ways but focuses on your content in a full screen way no ads way. Initially I didn’t want to start using a new system but It looked to cool not to try out at least once. After using it for a bit I found I really liked how it displayed my photos and videos and have continued to post there every once in a while.


After looking around the site’s blog and others Juxxers I deiced to make a quick animation about the platform use their post’s, “Top 6 Reasons to Jux” as inspiration. I entitled my animation 6 Ways to Jux and choose to make it 15 seconds long.


I did a mini storyboard and after collecting some assets I proceed with the design, first using some vector logos that Jux provided. Then I browsed other Jux blogs via SURF JUX to find images that I would used for each section. After that I went started to animate and work our the final composite.


My last remarks are that the mp4 versions have a lot of banding due to the compression process. The uncompressed looks fine so it seems I will have to play with the conversion process and re-upload to get ride of the banding. Also in retrospec, I would have made more of a distinction in the orange and yellow or possibly placed them differently.


G=out


https://ct907.jux.com/Chrome and Firefox & The creative adult is the child who survived’ & Here, take it. & Back to my Lego

http://nuwin.ca/ – Just another Pokemon Battle

https://olaviakite.jux.com/ – Places I’ve Dreamt About

Union Ident – http://audiojungle.net/item/union-ident/674275